
For the last couple of weeks I have been trying to clean out my second bedroom to get it usable as an office/work room. It has been just a storage room for the last year since David and I moved in. As I was going through a box of cookbooks I found one that I had grabbed from my mom because she didn't want it anymore.

I paged through the book and I'm pretty sure I want to try at least 3/4 of the recipes. If you aren't familiar with Taste of Home check out their website. I found a recipe for baked porkchops with apples and raisins that I've made several times and it is very good. Here's that one if you want to try it. I highly recommend it, if you aren't against pork for whatever reason. Though chicken thighs would probably work well too.
See My First Recipe After the Break
The first recipe I decided to try was for Orange Date Bread. Mostly because the only ingredients I needed to buy were walnuts and a couple of oranges to zest. The recipe makes two loaves of the bread. If you are working with dates at some point, I have a couple pointers. 1) Make sure to buy pitted dates. 2) Use a sharp knife to chop them. 3) Be prepared to get very sticky fingers or wear gloves while chopping. As for zesting citrus fruits, if you don't have a zester the small side of a cheese grater works too and make sure to either zest directly into the bowl the zest is going into or onto a non paper plate/bowl so you don't lose all the nice flavorful oils from the zest.
Dough Before Baking

The dough was very heavy, but that is to be expected as the final product is very dense. It reminded me of banana nut bread texture wise. There's also a very simple glaze that goes on top of the bread as soon as you pull it from the oven. The glaze gives just a little extra sweetness.
Straight From the Oven


You actually only pour half the glaze on immediately. You're then supposed to wait 10 minutes, remove the bread from the pans, and pour the remaining glaze on top. Sounds simple right? Not so much. Now I don't know if it was because I was using silicone loaf pans, to prevent sticking, or that 10 minutes is really not long enough to wait before de-panning, but the first loaf I tried to remove broke into about 4 pieces. The second one came out mostly in one piece, minus a the top layer of one corner.
First Loaf

Second Loaf

Falling apart or not, these were very tasty. Especially with a little cream cheese spread on the slices for breakfast. Since I had two loaves I decided to take some to work. The first time I did the manager I was working with claimed the whole plate and took it home with her. She also asked for the recipe. I took some more in a couple days later for a store meeting so others could have some too. People seemed to like it so I'm gonna count this one as a success.
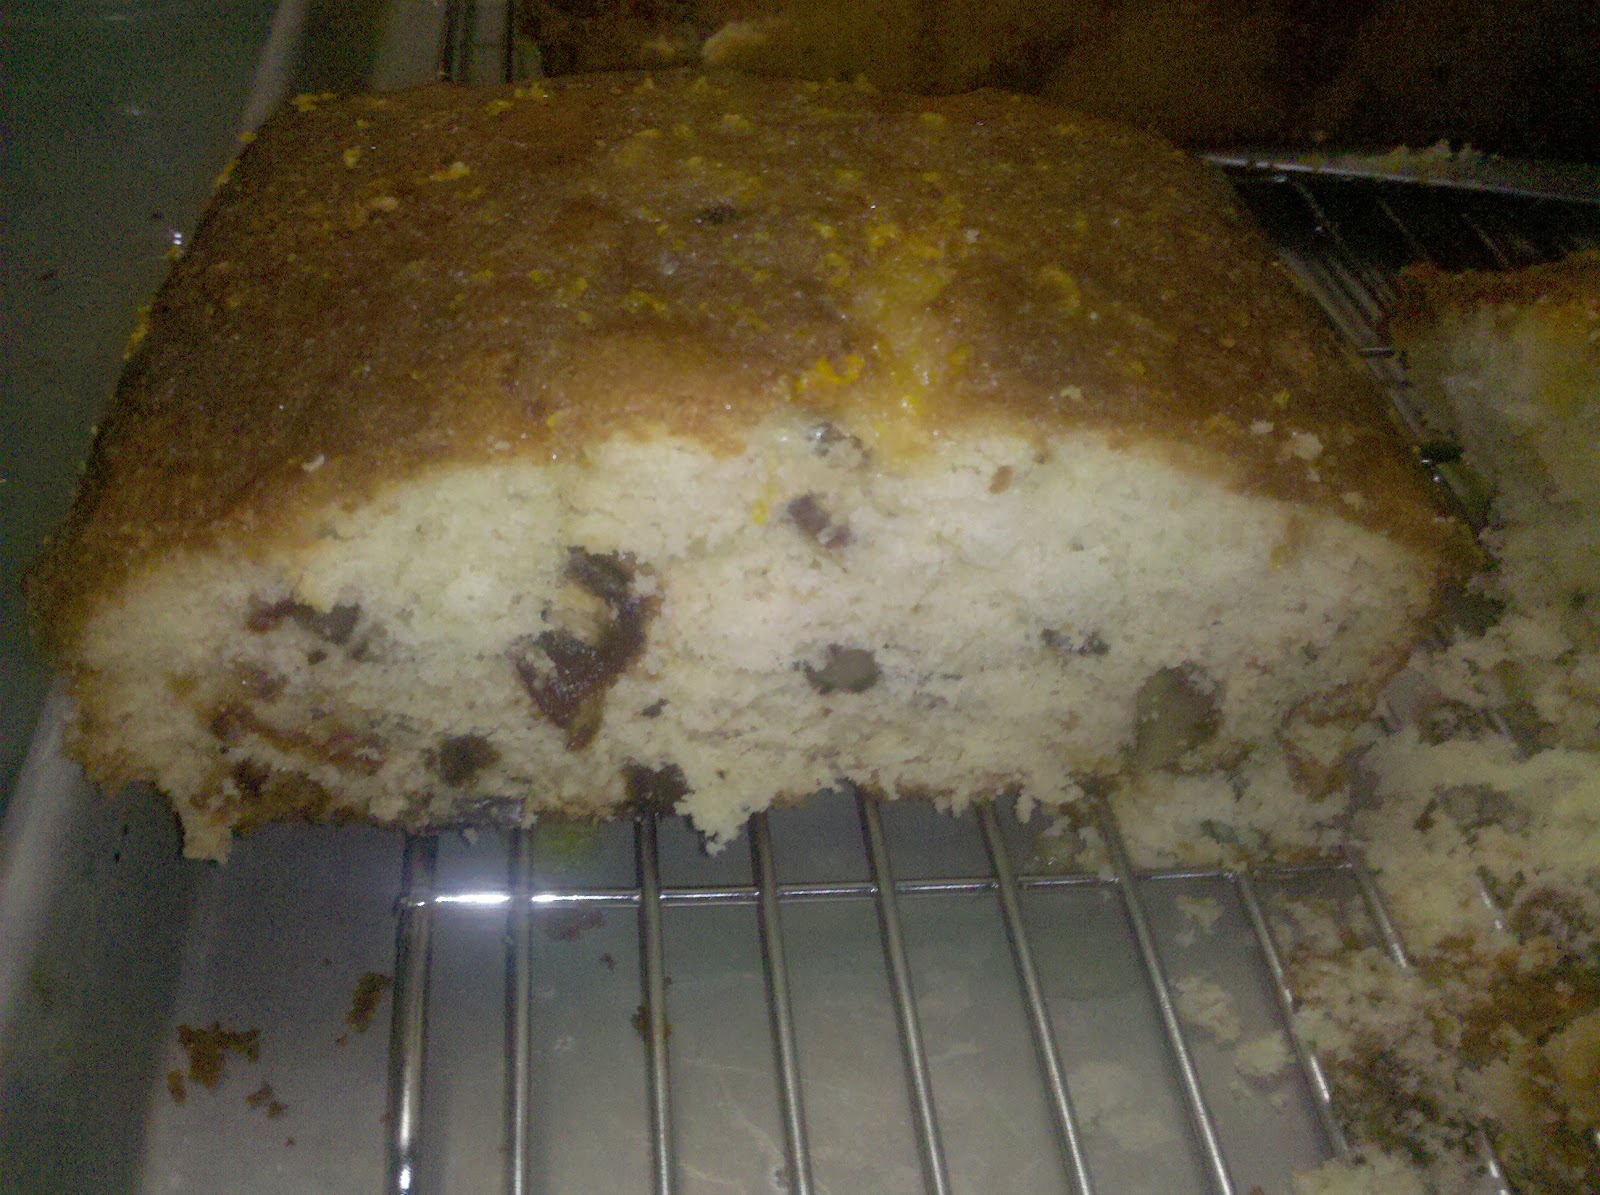
Inside View
Sliced with Cream Cheese

How's it look to you guys? I think next I'm going to try some lemon raspberry muffins.


Looks good, I have never tried cream cheese on sweet breads before. I sometimes have problems getting baked goods out of pans so I usually line the pans with parchment paper.
ReplyDeleteYou should try cream cheese on sweet breads Will, it's really good. I use parchment too sometimes, but didn't think it would be necessary with silicone pans.
ReplyDeleteWould the walnuts be optional? The rest sounds great! I haven't tried cream cheese on a bread like that either, but it sounds good...
ReplyDeleteThe walnuts could totally be optional I think. I'm normally not a big walnut fan, but they worked well in this. But if it's an allergy thing totally leave them out or replace with a different nut. Almonds or macadamia nuts would be good I think.
ReplyDelete